
Email format error
Email cannot be empty
Email already exists
6-20 characters(letters plus numbers only)
The password is inconsistent
Email format error
Email cannot be empty
Email does not exist
6-20 characters(letters plus numbers only)
The password is inconsistent

News
How to Properly Install an OEM Caterpillar Fuel Pump Copper Gasket
If you're a DIY enthusiast or a mechanic looking to replace the fuel pump copper gasket on your Caterpillar engine, you've come to the right place. In this step-by-step guide, we'll walk you through the process of properly installing an OEM Caterpillar fuel pump copper gasket. Let's get started!
Materials Needed:
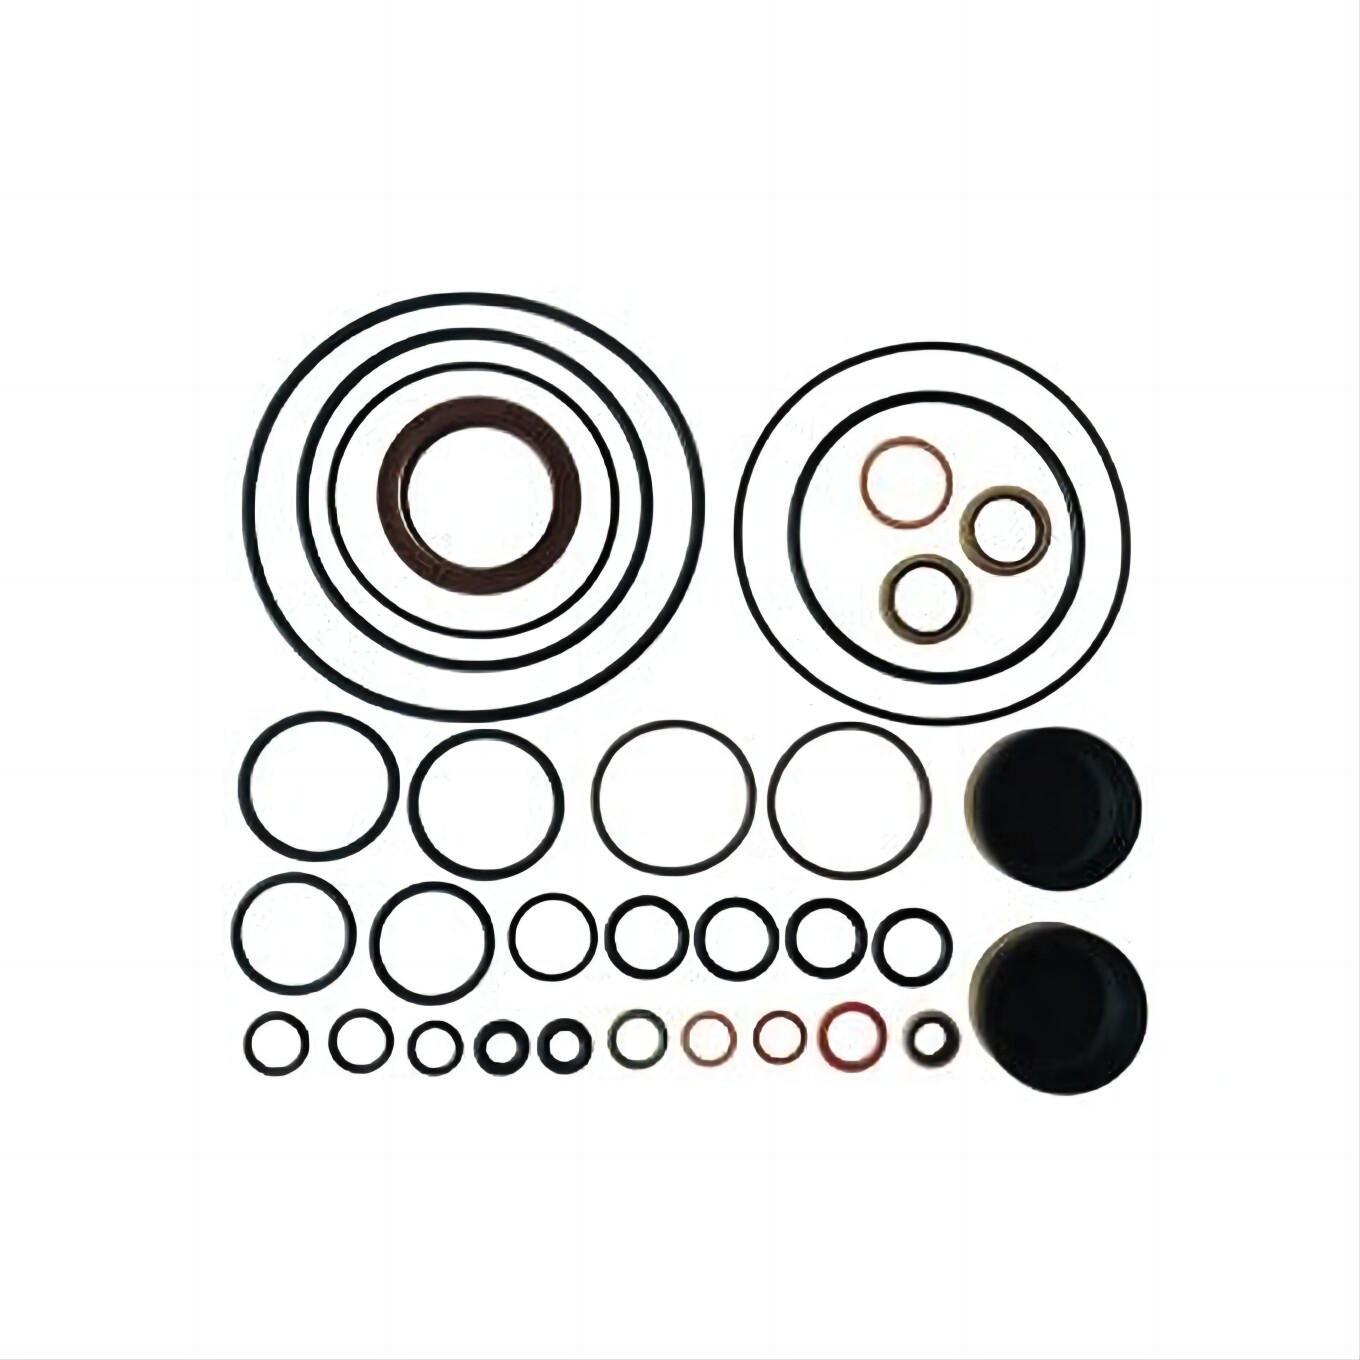
OEM Caterpillar fuel pump copper gasket
Socket wrench set
Torque wrench
Clean rags
Gasket sealant (optional)
Caterpillar engine manual (for reference)
Step 1: Preparation
Before you begin the installation process, make sure to gather all the necessary materials and tools. It's also a good idea to consult your Caterpillar engine manual for specific instructions and torque specifications related to the fuel pump gasket replacement.
Step 2: Drain the Fuel System
To prevent any fuel spillage or leaks during the installation process, it's important to drain the fuel system. Locate the fuel drain valve on your Caterpillar engine and carefully drain the fuel into a suitable container.
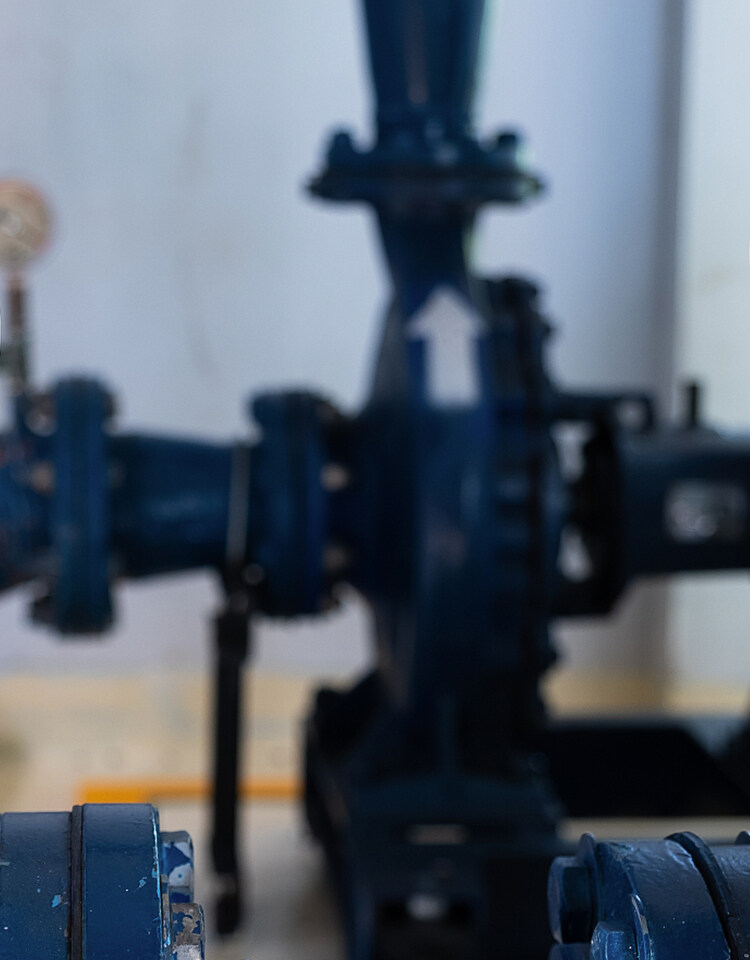
Step 3: Remove the Old Gasket
Using a socket wrench set, carefully loosen and remove the bolts securing the fuel pump to the engine. Once the fuel pump is detached, carefully remove the old copper gasket from the mounting surface. Be sure to clean the mounting surface thoroughly with a clean rag to remove any debris or residue.
Step 4: Install the New Gasket
Take the OEM Caterpillar fuel pump copper gasket and place it onto the mounting surface, ensuring that it aligns properly with the bolt holes. Gently press the gasket into place to create a tight seal.
Step 5: Reattach the Fuel Pump
Carefully reattach the fuel pump to the engine, aligning it with the new copper gasket. Use a torque wrench to tighten the bolts to the manufacturer’s specified torque settings. Be sure to tighten the bolts in a crisscross pattern to ensure even pressure distribution.
Step 6: Apply Gasket Sealant (Optional)
If desired, you can apply a thin layer of gasket sealant to the fuel pump gasket before reattaching it to the engine. This can help improve the seal and prevent leaks. Be sure to follow the manufacturer's instructions when using gasket sealant.
Step 7: Test for Leaks
Once the fuel pump is securely reattached and the new copper gasket is in place, it's important to test for leaks. Reconnect the fuel system and start the engine to check for any signs of leakage around the fuel pump. If you notice any leaks, immediately shut off the engine and address the issue.
Step 8: Final Checks
After completing the installation process, double-check all connections and bolts to ensure everything is secure. Clean up any spilled fuel or debris, and dispose of any used materials properly. Finally, refer to your Caterpillar engine manual for any specific post-installation procedures or recommendations.
Conclusion
By following these step-by-step instructions, you can successfully install an OEM Caterpillar fuel pump copper gasket on your engine. Proper installation of the gasket is crucial for maintaining the integrity of the fuel system and preventing leaks. Whether you’re a seasoned mechanic or a DIY enthusiast, this guide will help you complete the installation process with confidence and precision.